Contest Briefing - Route RED
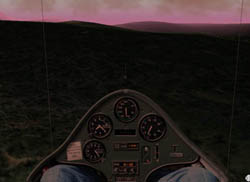
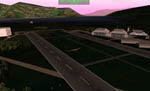
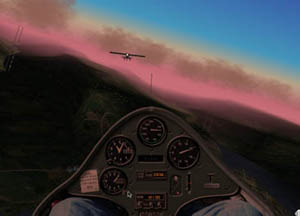 1. Get yourself positioned on the runway at Buochs LSMU ready for takeoff. Flying the tow is one of the most challenging things about soaring. Remember to check that your spoilers are closed and start your timer by clicking on the green button. Click the brakes button to start the takeoff. On takeoff use the stick to get the low wing up and the rudder to keep it straight. Get the nose up and level as soon as possible. Remember, you are balanced on a single main gear and you must fly the plane to keep it level. A trick to flying on tow is to keep your wings at exactly the same bank angle as the towplane and make very small corrections. If you get out of position just bank slightly towards the towplane and then level up. You will drift back into position.
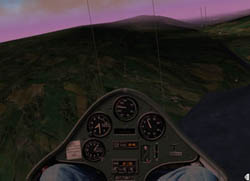
2. The towplane will fly a gentle left turn after takeoff. You may come close to some of the nearby mountains but the towpilot is very experienced and will clear the ridges. Stay on tow until you feel that you are at a high enough altitude, 2,500 feet above the field should be sufficient, and hit the space bar to release yourself from the tow line. Don’t forget to retract your landing gear as the extra drag could make a difference in your elapsed time.
 3.The initial leg of the course is west from the field at Buochs. The turnpoints are listed on the race map (circles). Your job is to steer the glider through the radio tower "gates" along the route. (these "gates" are in fact holographic light beams - one of the gadgets we own since the Orlyonok mission).
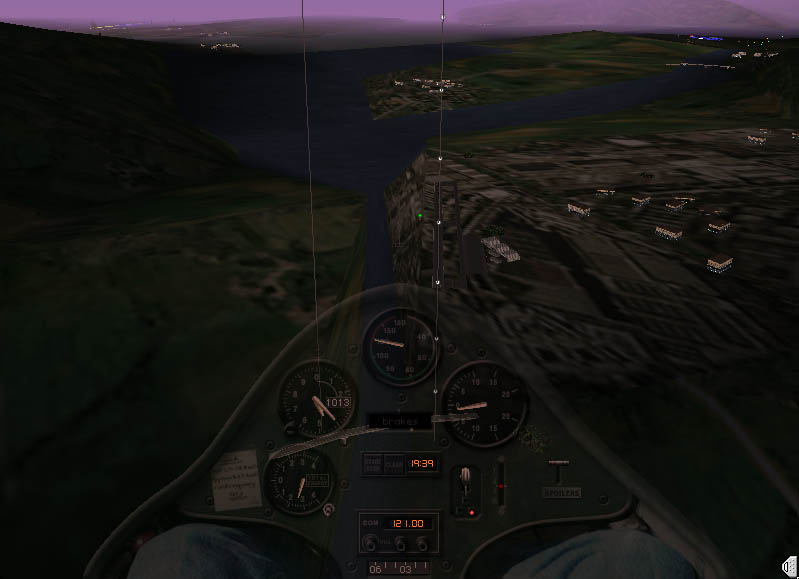
Now your challenge begins. You must balance the best possible speed against using up your altitude. Place the nose down to keep up a good speed. You will hear the audio variometer emit a steady tone indicating that you are descending. Fly as fast as you dare while watching your altitude. If you are getting low slow to best glide speed of around 58 knots. If you are getting down to less than 1,000 feet above the valley floor start planning your landing. Hopefully very soon after you start out you will encounter a thermal or rising air column indicated by the audio variometer changing from a steady tone to a beeping one or intermittent one. If you are lucky enough to encounter rising air you can decide to circle in it to gain altitude or just slow down to take advantage of the lift. If you are low you should try circling at a slow speed until you gain enough altitude to go on. Listen to the beeping. If it gets faster you are near the core of the thermal in the fastest rising air. Try to stay in that if you can. Remember though, you are not making progress across the ground while you circle so decide when you are high enough to go on. Try to leave the thermal in the direction you want to go.
 4.The CEO chalet turn point is your second check (and first turn) point. You will turn to the north or your right as you approach the chalet, where the valley turns sharpy to the left. Look for a small radio tower on the right hand side of the chalet. You MUST go around the left side of it. If you are comfortable with taking a screen shot while looking out your canopy, selecting the right view in XP, then do so. It may come in handy if there is any kind of dispute about rounding the corner.
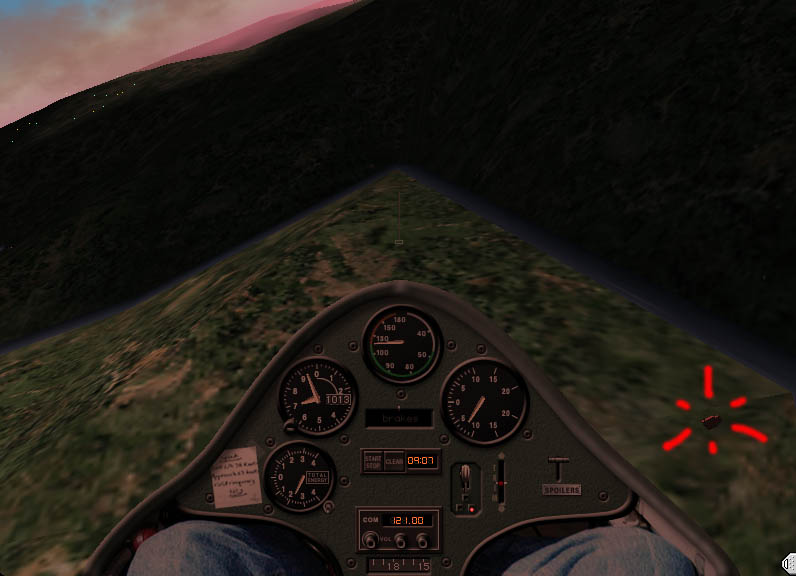
 5.The mountain gate N° 1 is your third check (and second turn) point. Pass right through the gate and turn left to a heading of. You will fly over the lowest point of the mountain rim, and face the next gate:
 6.The mountain gate N° 2 is your fourth check (and third turn) point. This is also the highest point of your trip. From here you can begin to trade altitude for speed. If you are still high (> 7700 ft msl) then you can get to good speeds. Else, you might want to look for thermals to not loos to much altitude. Shortly after the mountain gate 2, you will head towards the valley to your right, and see the next gate, in the middle of lake Sarnen.
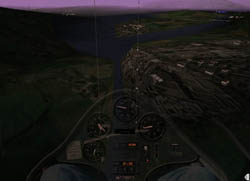
 7.The Sarnen lake gate The beams have been installed in the middle of the lake (on a floating platform). Pass it like the previous gates, and turn inbound Alpnach LSMA.
 7. Alpnach LSMA turn point is your fifth check (and fourth turn point). Pass the gate and turn inbound Buochs, LSMU. The light knots on the holography beacons might help you in your training, to judge the required altitude to reach Buochs from here...
Now you can spend all your altitude until you pass over the final checkpoint:
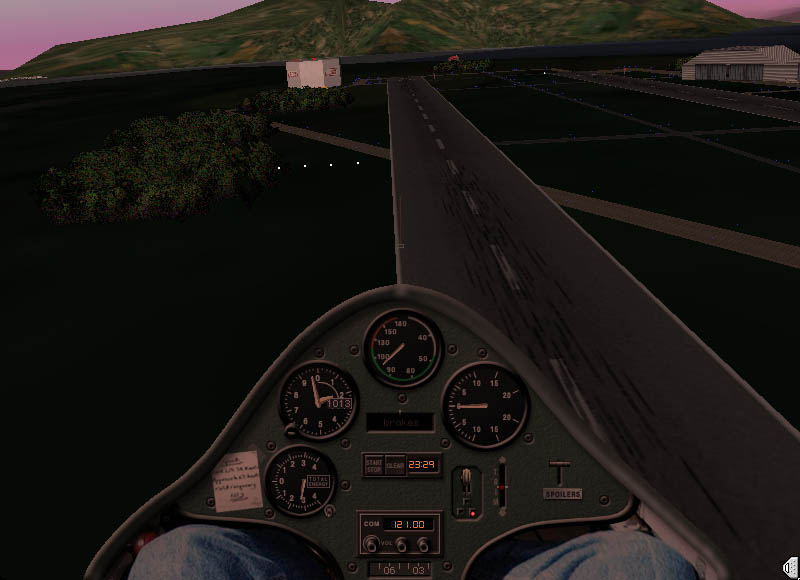
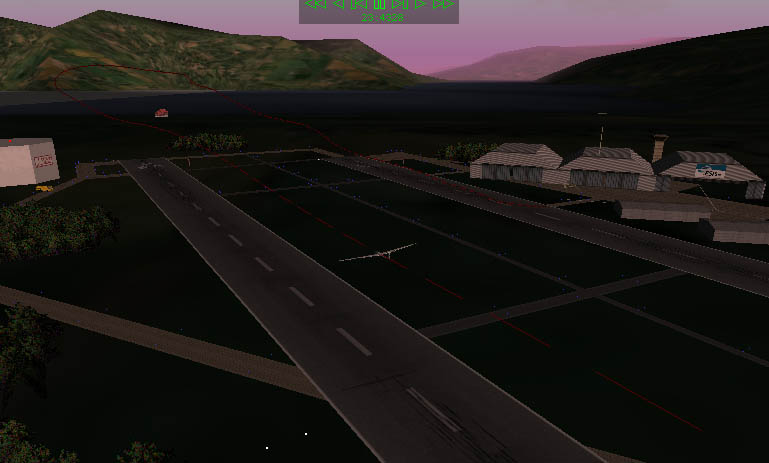
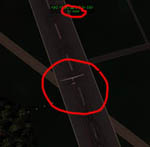
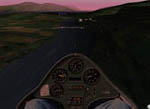 8. Destination - Finish line is the crossing of the rw 05 and the diagonal taxiway. See the picture below . Ideally, you should trade your altitude for a high speed pass by last check point where you will click your timer off. After you climb back up exchanging your speed for altitude you can fly a sharp right hand turn and setup for landing. If you are using a joystick the throttle wheel becomes the spoiler control in a glider. Try to fly your final
  approach using half spoiler and you will give yourself plenty of options. This ship has flaps that are very powerful. The produce a strong picth up so be ready for that. Do not add full flaps until you are sure you have the runway made. You can make some very steep approaches with the ship but if you apply flaps too early and take them off you can be in trouble.
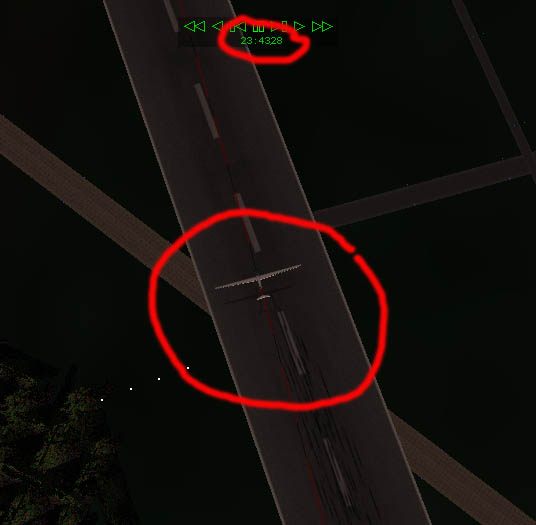
As soon as you cross the intersection of the runway 05 and the diagonal taxiway, you stop the timer. However, we will prove the time by the movie reply method:
 One you have landed successfully, you switch on the 3D flight path, and toggle the movie reply mode. Then you can rewind the movie until your plane is exactly over the intersection, click pause, and read out the movie time (which is very precise).
YOu use the same method to document the gate passings. Rewind the movie until your plane passes a gate. For that, you should swithc to outside view, and zoom out quite a bit. Once you see both beams, rewind the movie and adjust your views, until the two beams are aligned, and your plane is almost in the middle of the two beams.
 Then again, you can read out the times. Please note these times as LAP1, LAP2 etc. accordingly to the gates and turnpoints. Of course it is nice if you take screenshots of the crucial flight moments. But you better do that after the flight with the movie reply, rather than during your actual flight...
 5. Upon landing remember to keep flying the ship after you have touched down. Again, you are balanced on a single main gear and must fly the ship until it stops completely.
This is a high performance sailplane with a 42:1 glide ratio at around 60 knots. It is a very low drag ship and if you put the nose down, speed will build very quickly. This simulation in X-plane is as close to flying the real thing as I have found in a computer flight simulator. Try turning on some thermals in the atmospheric weather settings. Watch the variometer and if you get lift start circling. Add one notch of flaps to be able to fly 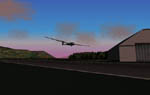 slower and turn tighter in the thermals. Take the flaps off for runs between thermals or just forget the flaps completely unless you are trying to put it down in a short field where they will help you out. Fly coordinated and as slow as possible and you will climb rapidly. Then fly a good speed of 60-70 mph to the next thermal and repeat. This is the joy of soaring.